 Nerve Blocks App
 Pain Medicine Assistant App
 POCUS App
 IV Access App
 MSK Knee App
 VetRA App
 Nerve Block Manual
 Regional Anesthesia Updates
 Anesthesiology Manual
 Anesthesiology Review
 Anesthesia Updates 2025
 Anesthesia Updates 2026
 Pediatric Anesthesia Updates
 Airway Management Updates
 US Interventional Pain Manual
 Pain Medicine Updates
 Mastering Difficult IV Access
 PACU Nursing Manual
 RA Veterinary Manual
 About
About

Paracentesis, a procedure to puncture and access free intraperitoneal fluid or ascites, is used for both diagnostic and therapeutic purposes. Causes of ascites include liver disease, heart disease, malignancy, kidney disease, chronic inflammation, or hypoalbuminemia. Ultrasound guidance is crucial in this procedure for site determination and needle guidance, reducing risks like vessel or bowel injury.
Why use ultrasound-guidance?
Ultrasound plays a pivotal role in enhancing the safety and accuracy of paracentesis by:
- Minimizing bleeding risks: Identifying blood vessels and guiding needle insertion avoids puncturing major vessels.
- Reducing infection risks: Accurate site selection minimizes puncture site contamination.
- Preventing bowel injury: Monitoring floating visceral structures reduces the risk of accidental bowel puncture.
Key steps for successful ultrasound-guided paracentesis
1. Patient positioning
- Position the patient supine with the head elevated at a 30-degree angle. This positioning allows fluid to pool in the lower quadrants, making it easier to locate with ultrasound.
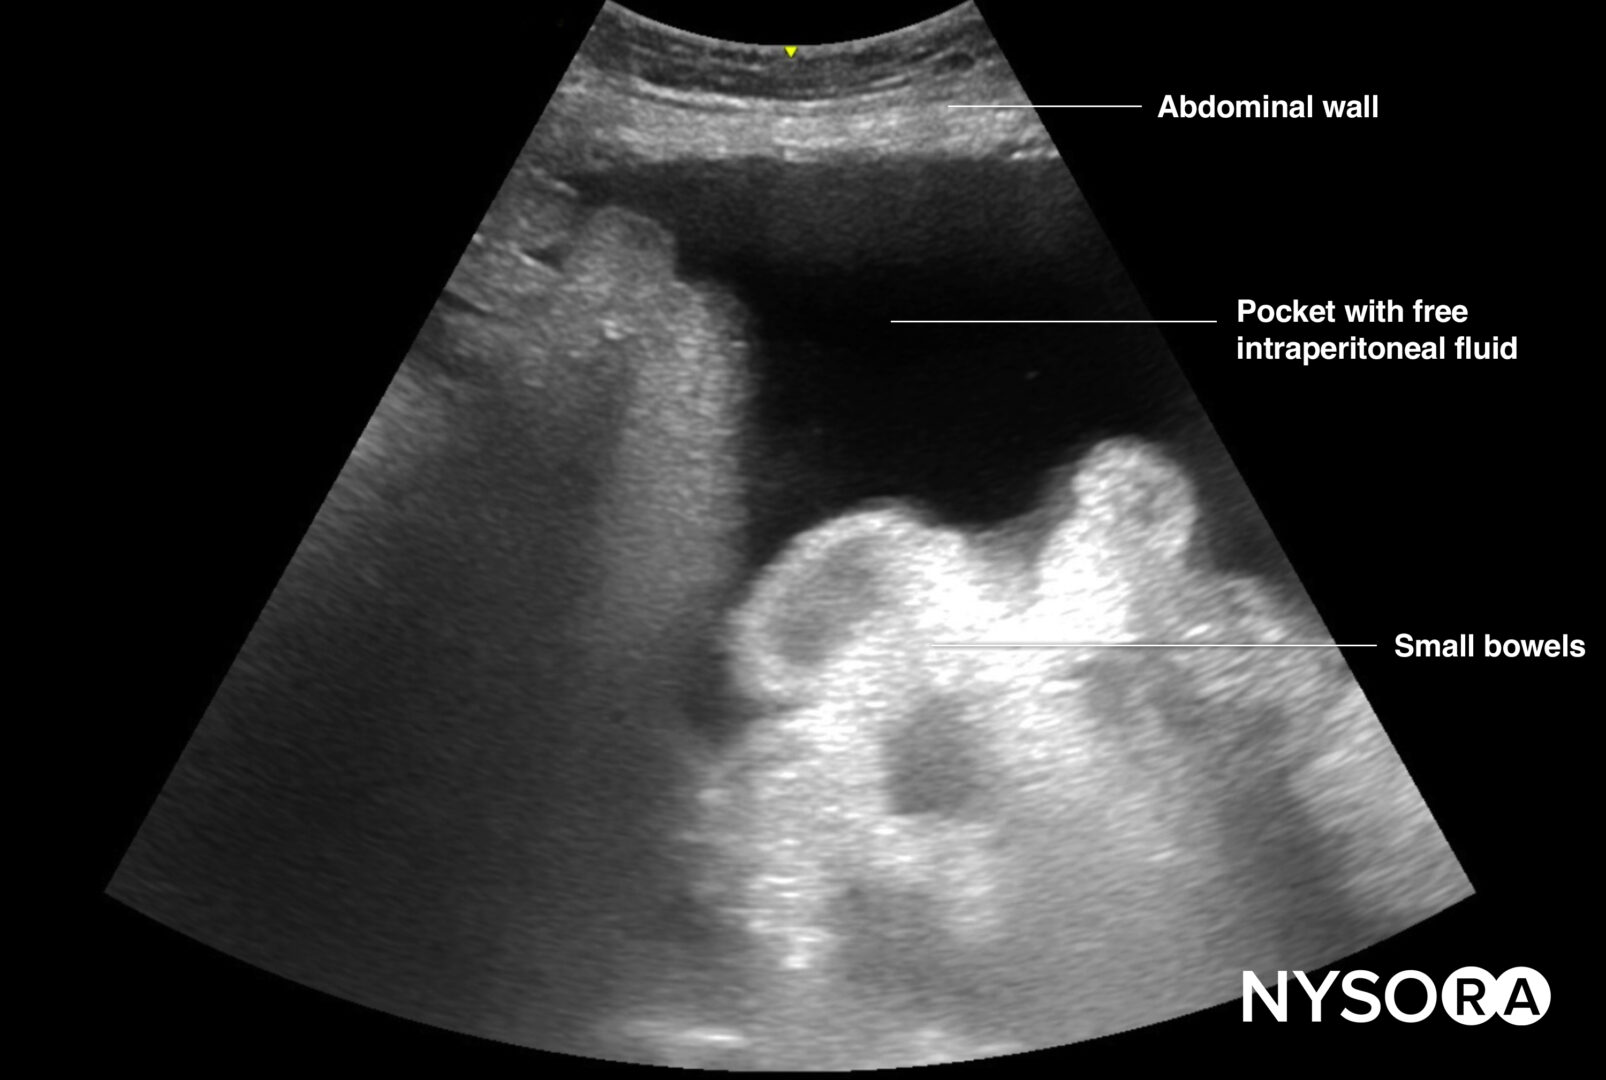
2. Identifying the fluid pocket
- Use a curvilinear transducer to scan the following areas for free fluid:
- Left Upper Quadrant (LUQ)
- Right Upper Quadrant (RUQ)
- Pelvic region
- Move to the lateral lower quadrants, identifying an ideal “pocket” of fluid with sufficient space between the abdominal wall and visceral structures.
3. Switching to the linear transducer
- After locating the pocket, switch to a linear transducer to visualize the target area in greater detail.
- Adjust the depth and focus settings to ensure clear imaging of underlying structures.
4. Avoiding vessels
- Use color Doppler to identify and avoid:
- Dilated veins (e.g., caput Medusa).
- The inferior epigastric artery, typically located 5–6 cm lateral from the midline.
5. Needle insertion
- Insert the needle in-plane, moving laterally to medially. This approach ensures the needle’s path can be visualized in real time.

6. Monitoring visceral structures
- Keep track of autonomously moving structures, such as bowels, which may float due to air content. Adjusting the needle path reduces the risk of puncture or contamination.
Tips for enhanced safety
- Transducer selection:
- Use a curvilinear transducer to detect free fluid.
- Switch to a linear transducer for precise needle guidance.
- Avoid the suprapubic area:
The urinary bladder is located near this region, increasing the risk of injury. - Visualization before insertion:
Adjust depth and focus to visualize all structures in the needle’s path. - Optimal needle site:
Choose a site with a clear pocket of fluid, adequate distance from visceral structures, and no major blood vessels in the trajectory.
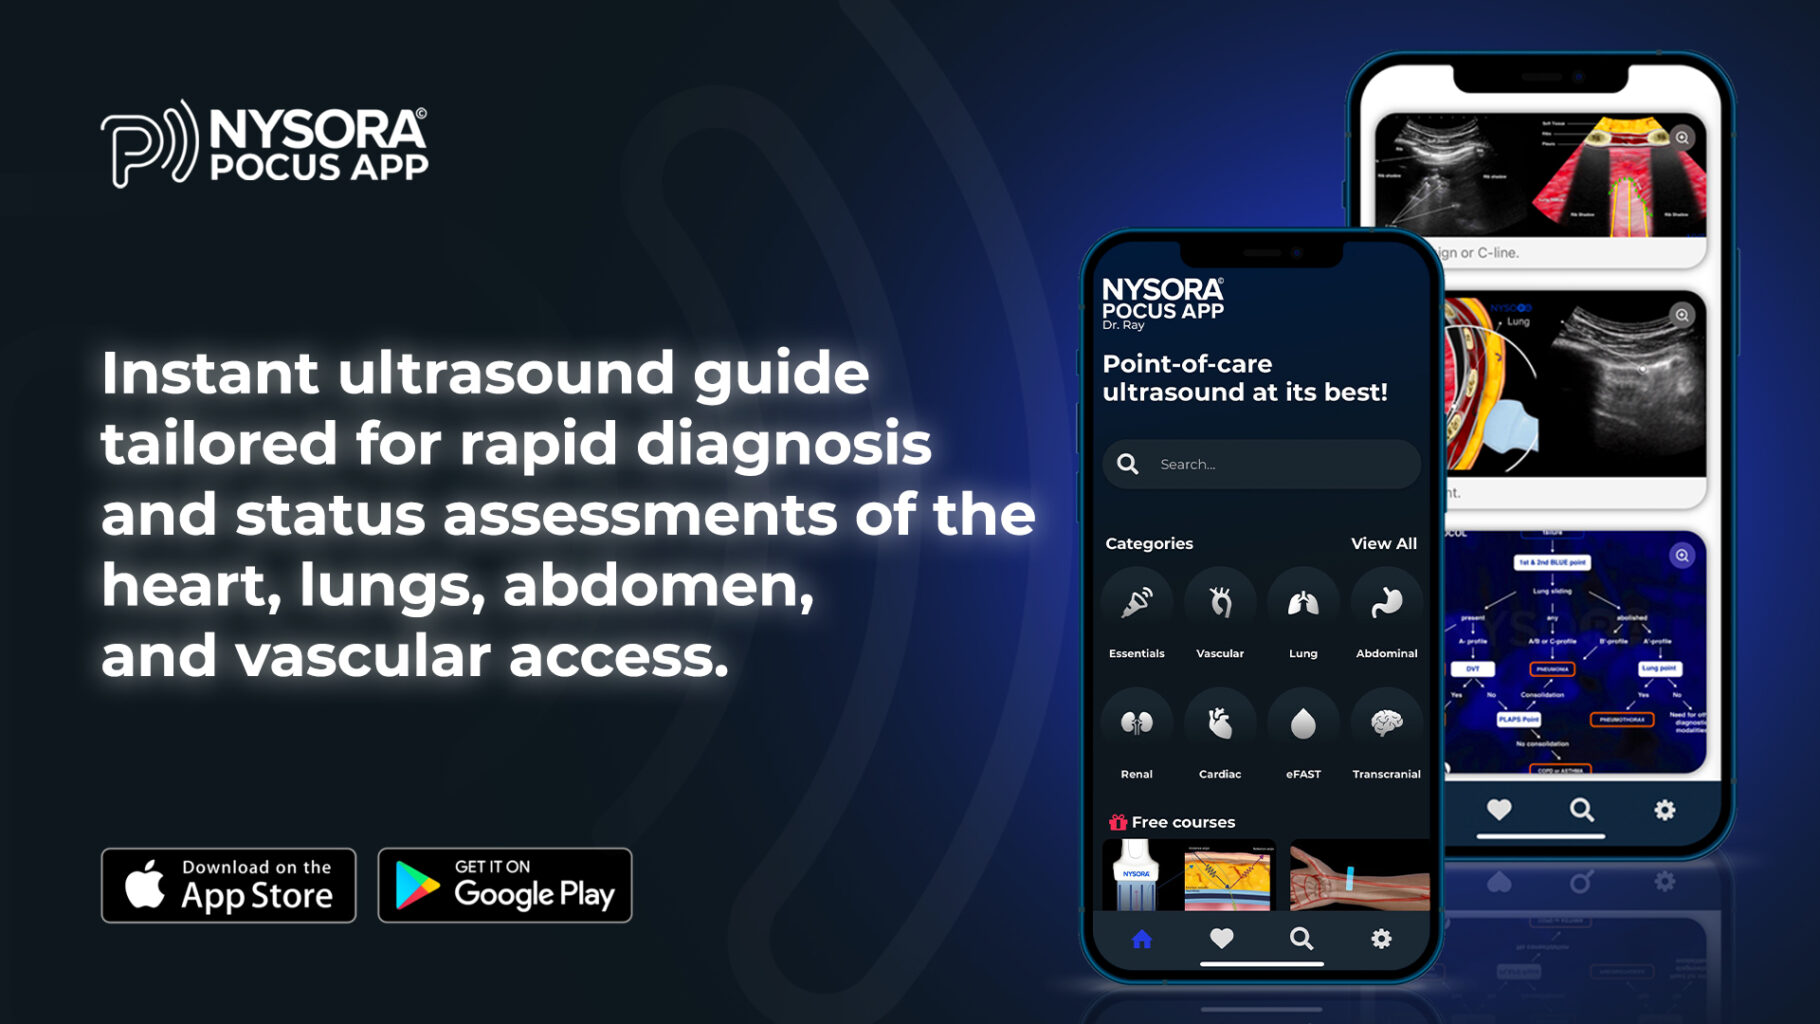
The role of NYSORA’s POCUS App
NYSORA’s POCUS App equips healthcare professionals with detailed tutorials and animations to refine their procedural skills. Learn step-by-step techniques, explore anatomy with detailed visuals, and gain confidence in your practice. Download the app today and master ultrasound-guided paracentesis.