Patient preparation
- Common targets for ultrasound-guided IV placement include the deep forearm veins and the brachial vein.
- Place the patient comfortably with the target area exposed.
- Adjust the bed height to avoid bending over during the procedure.
- Rest the body part being cannulated on a comfortable surface and adjust the position to expose the site optimally. To cannulate the brachial or the basilic vein, abduct and externally rotate the arm to expose the medial upper arm.
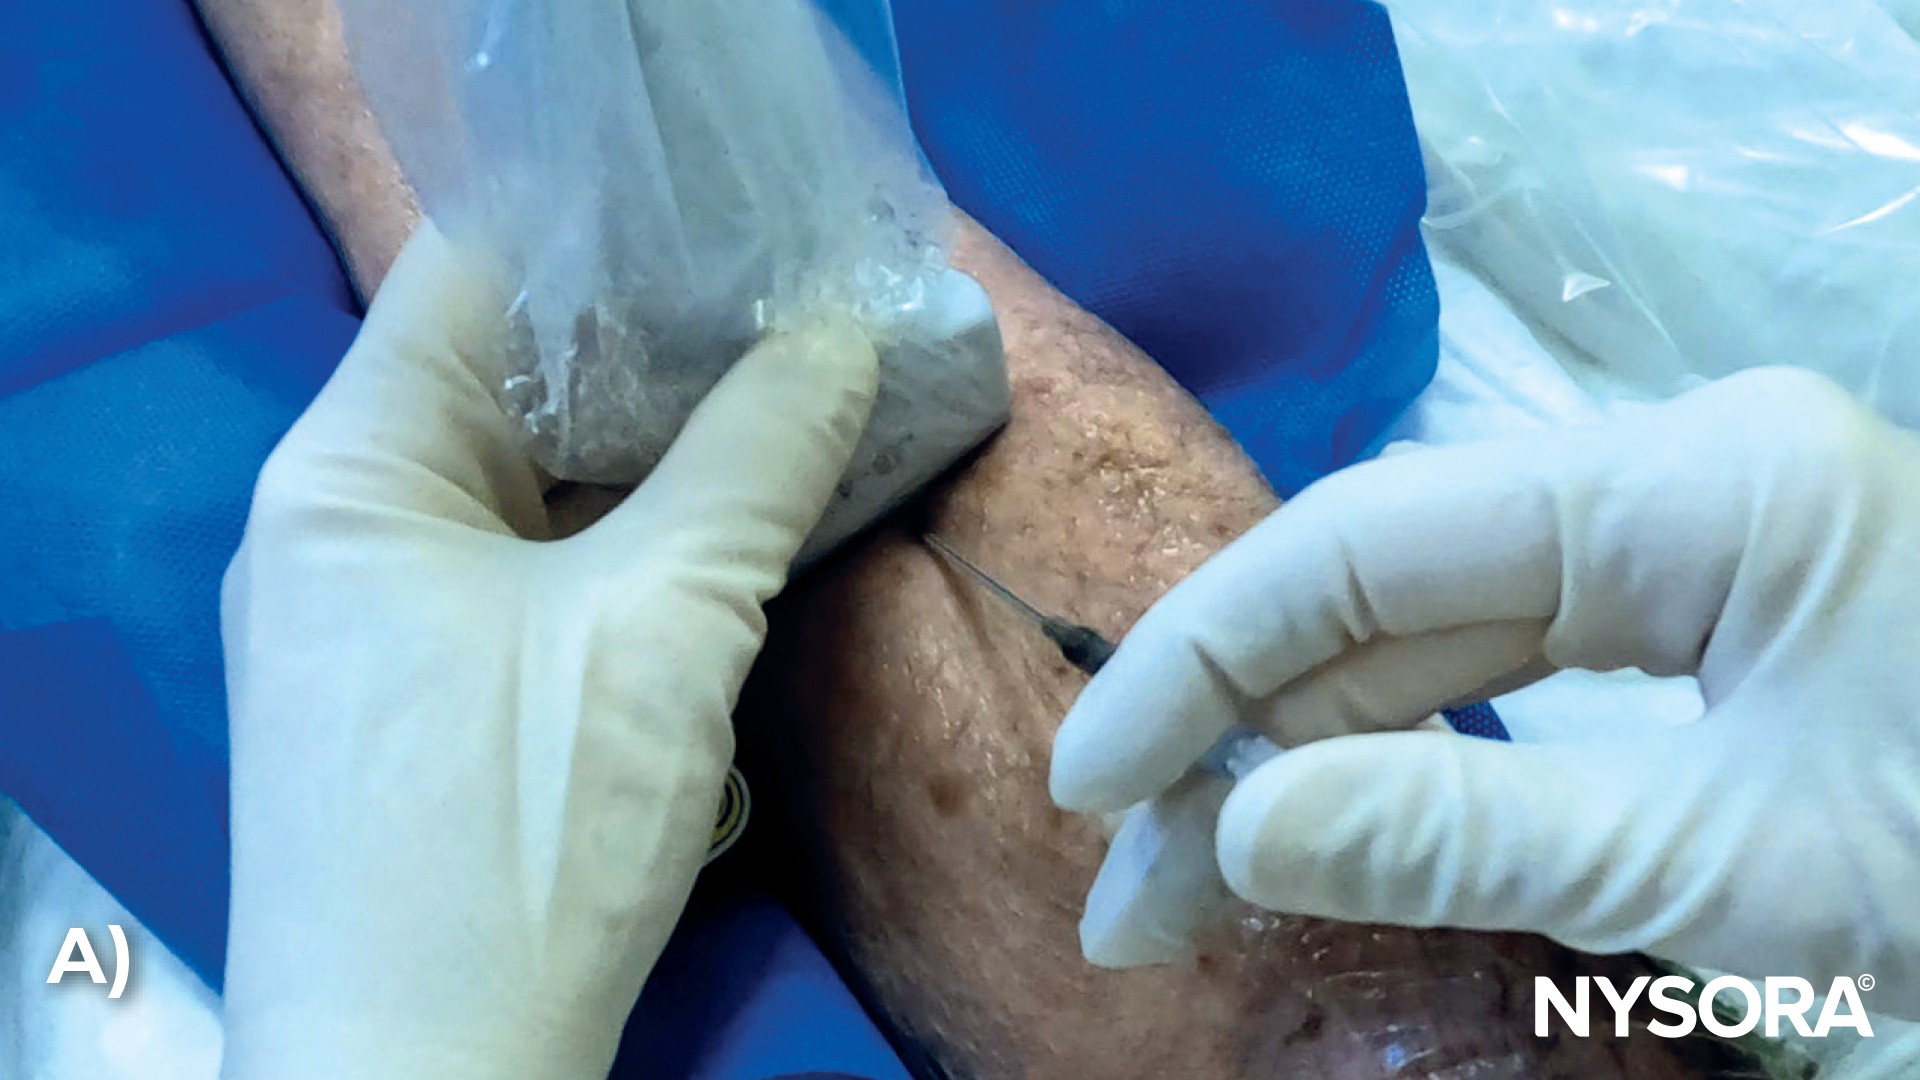
- Apply the tourniquet.
- Disinfect the insertion site.


A) Tourniquet application. B) Disinfection of the insertion area.
Video: https://youtu.be/X2xHagUMNg4
Ultrasound setup
- Use a probe cover.
- Set the machine to 2D mode.
- Choose the appropriate setting (usually labeled vascular or similar).
- Set the maximum depth at the surface of a bone to view the entire field.
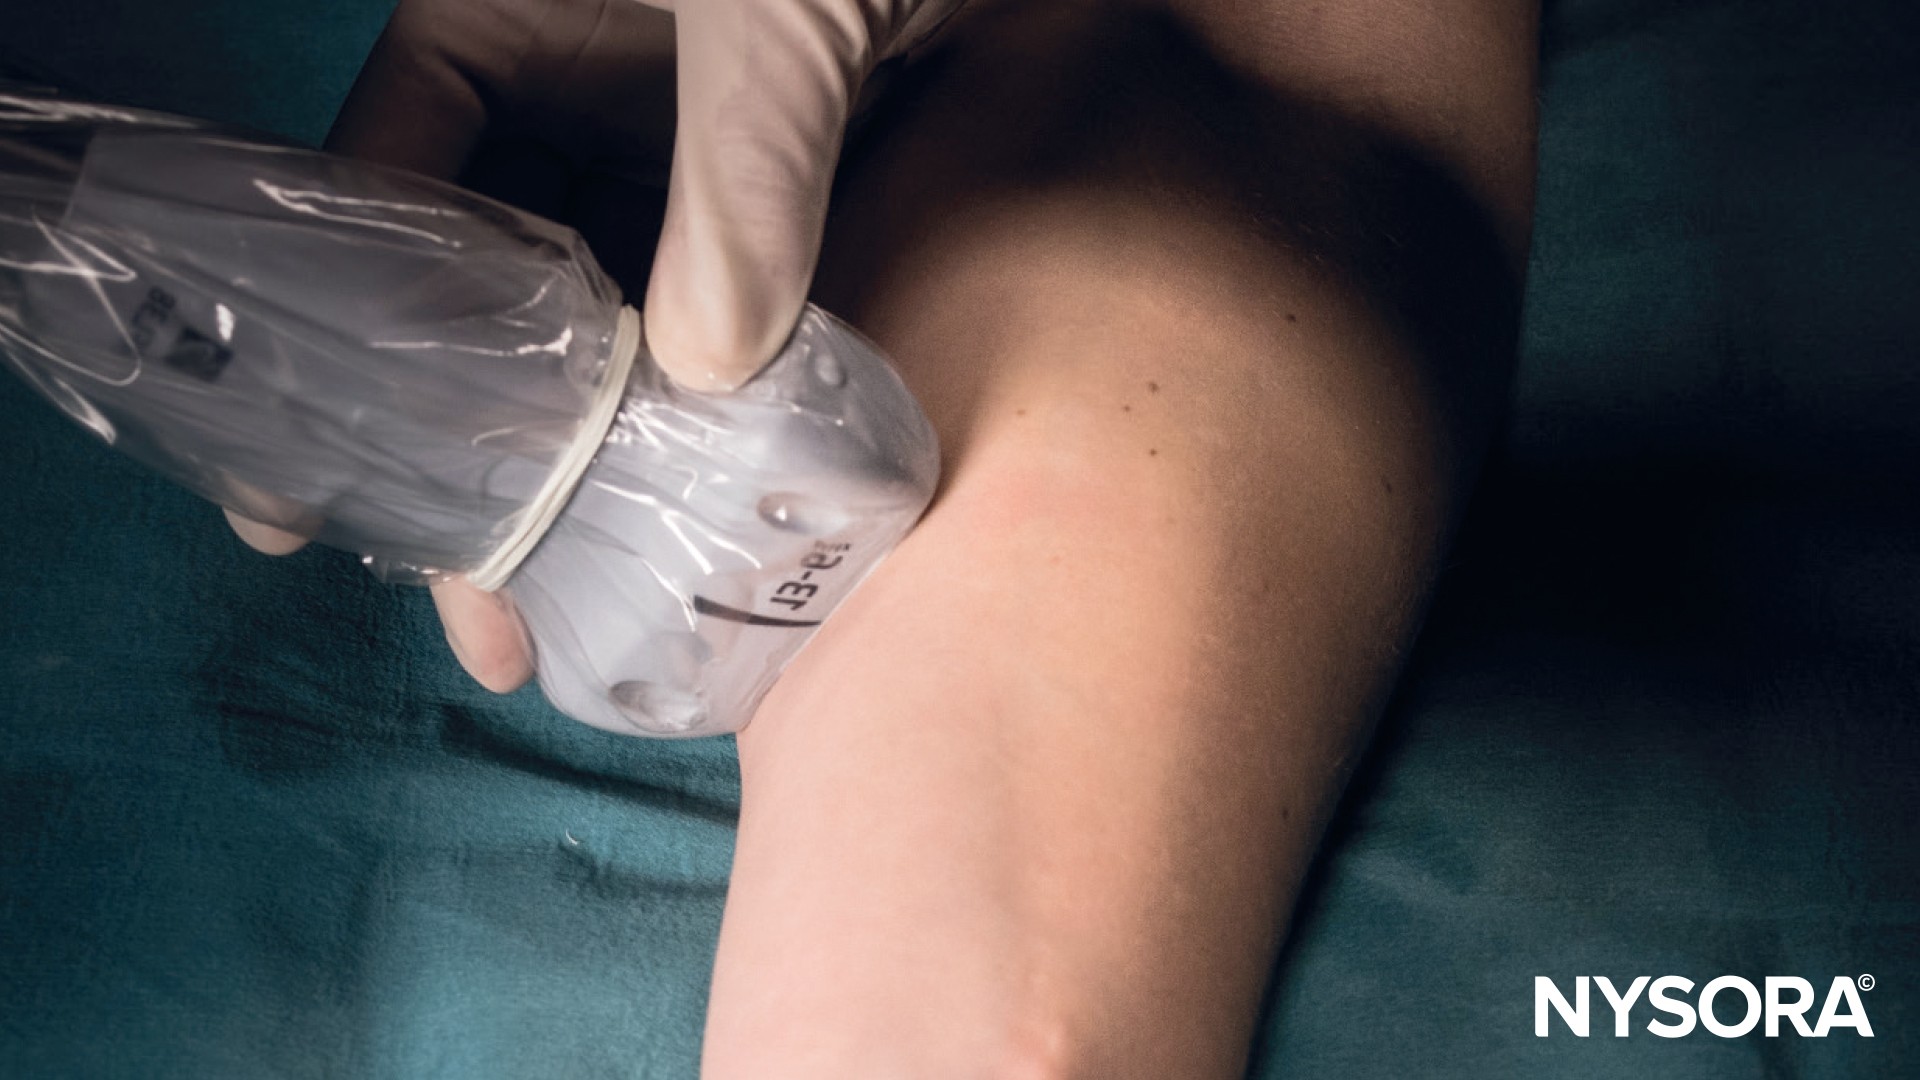

Always use sterile probe covers during ultrasound-guided IV access to prevent cross-patient and equipment contamination.
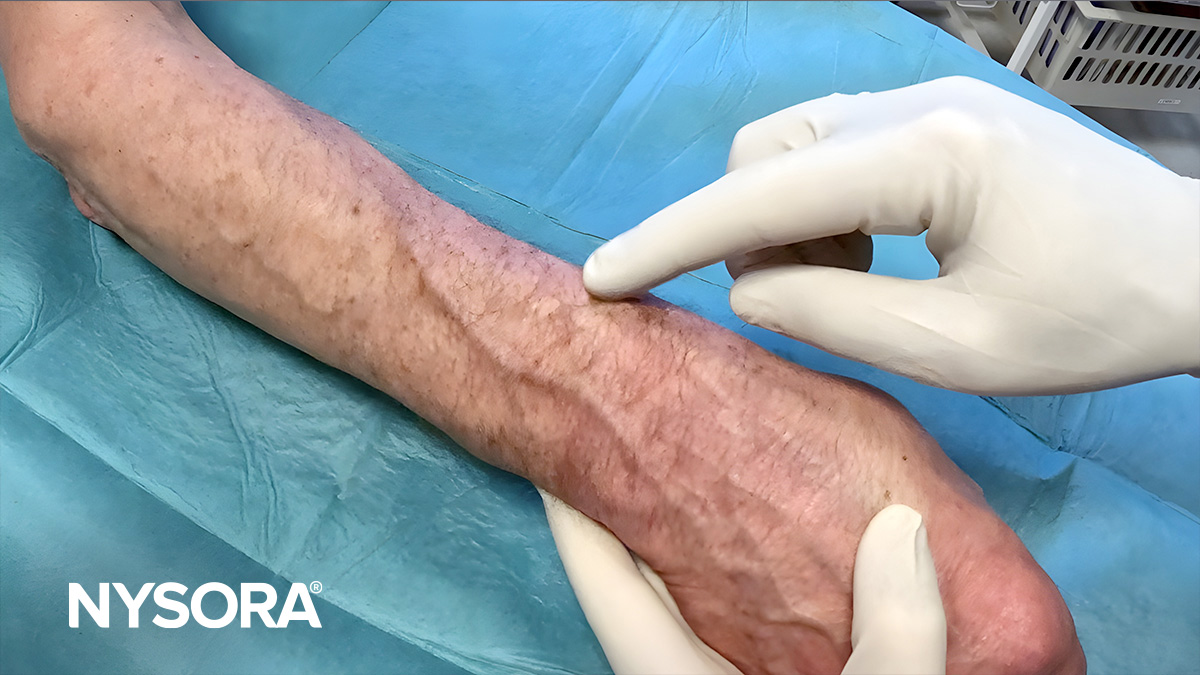
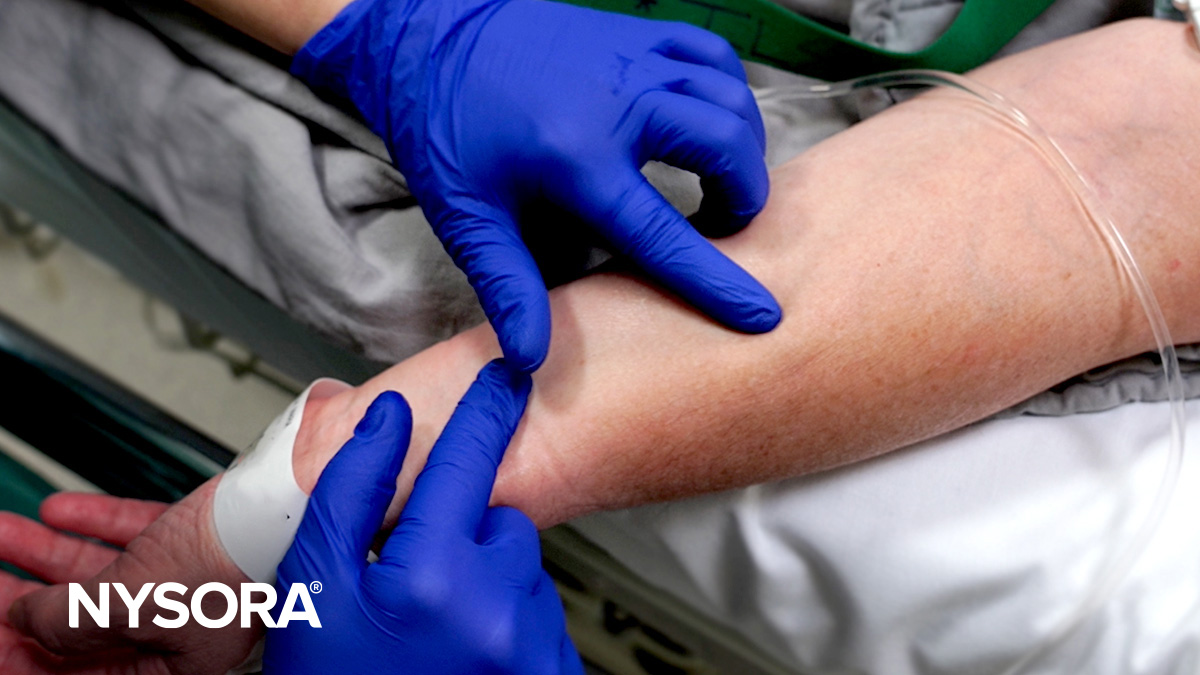
Scan the vein
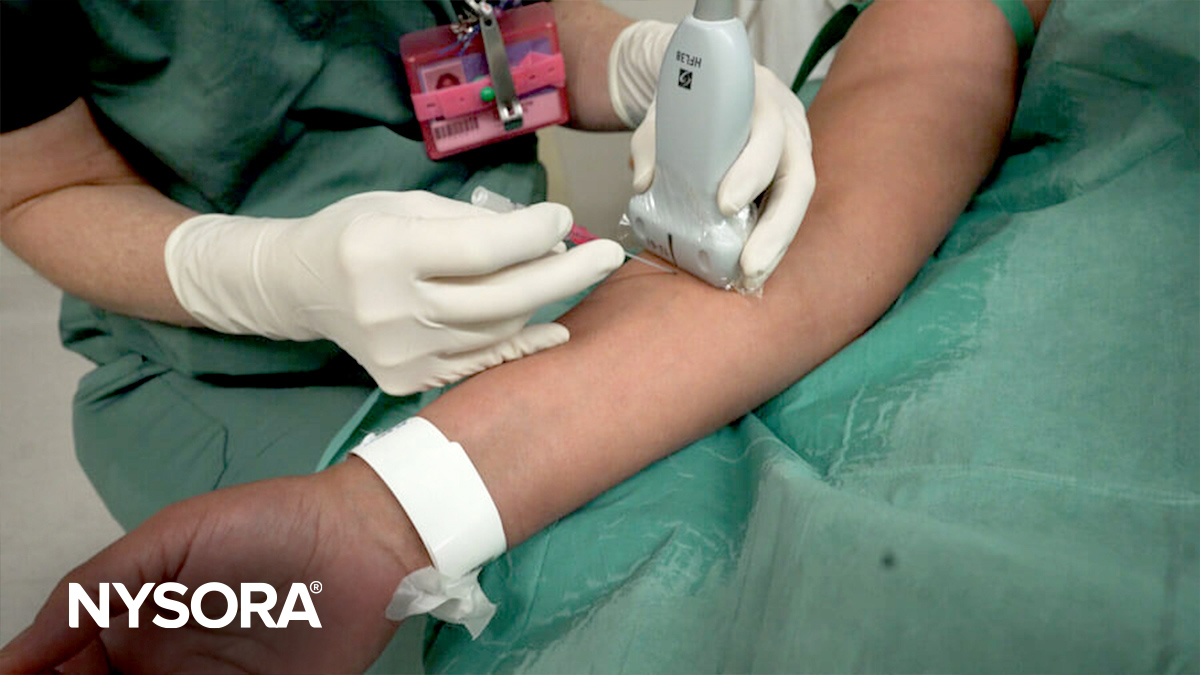
- Start with the transducer in a transverse or out-of-plane orientation to visualize the vein in cross-section.
- Perform a preliminary non-sterile ultrasound inspection to identify a suitable vein; a preferred vein segment is straight, wide, relatively close to the surface, and distinct from a nearby artery.
- Identify the vein as a dark, compressible, non-pulsatile structure and understand in which way the vein travels.
- If needed, switch to a longitudinal or in-plane view to visualize the length of the vein.
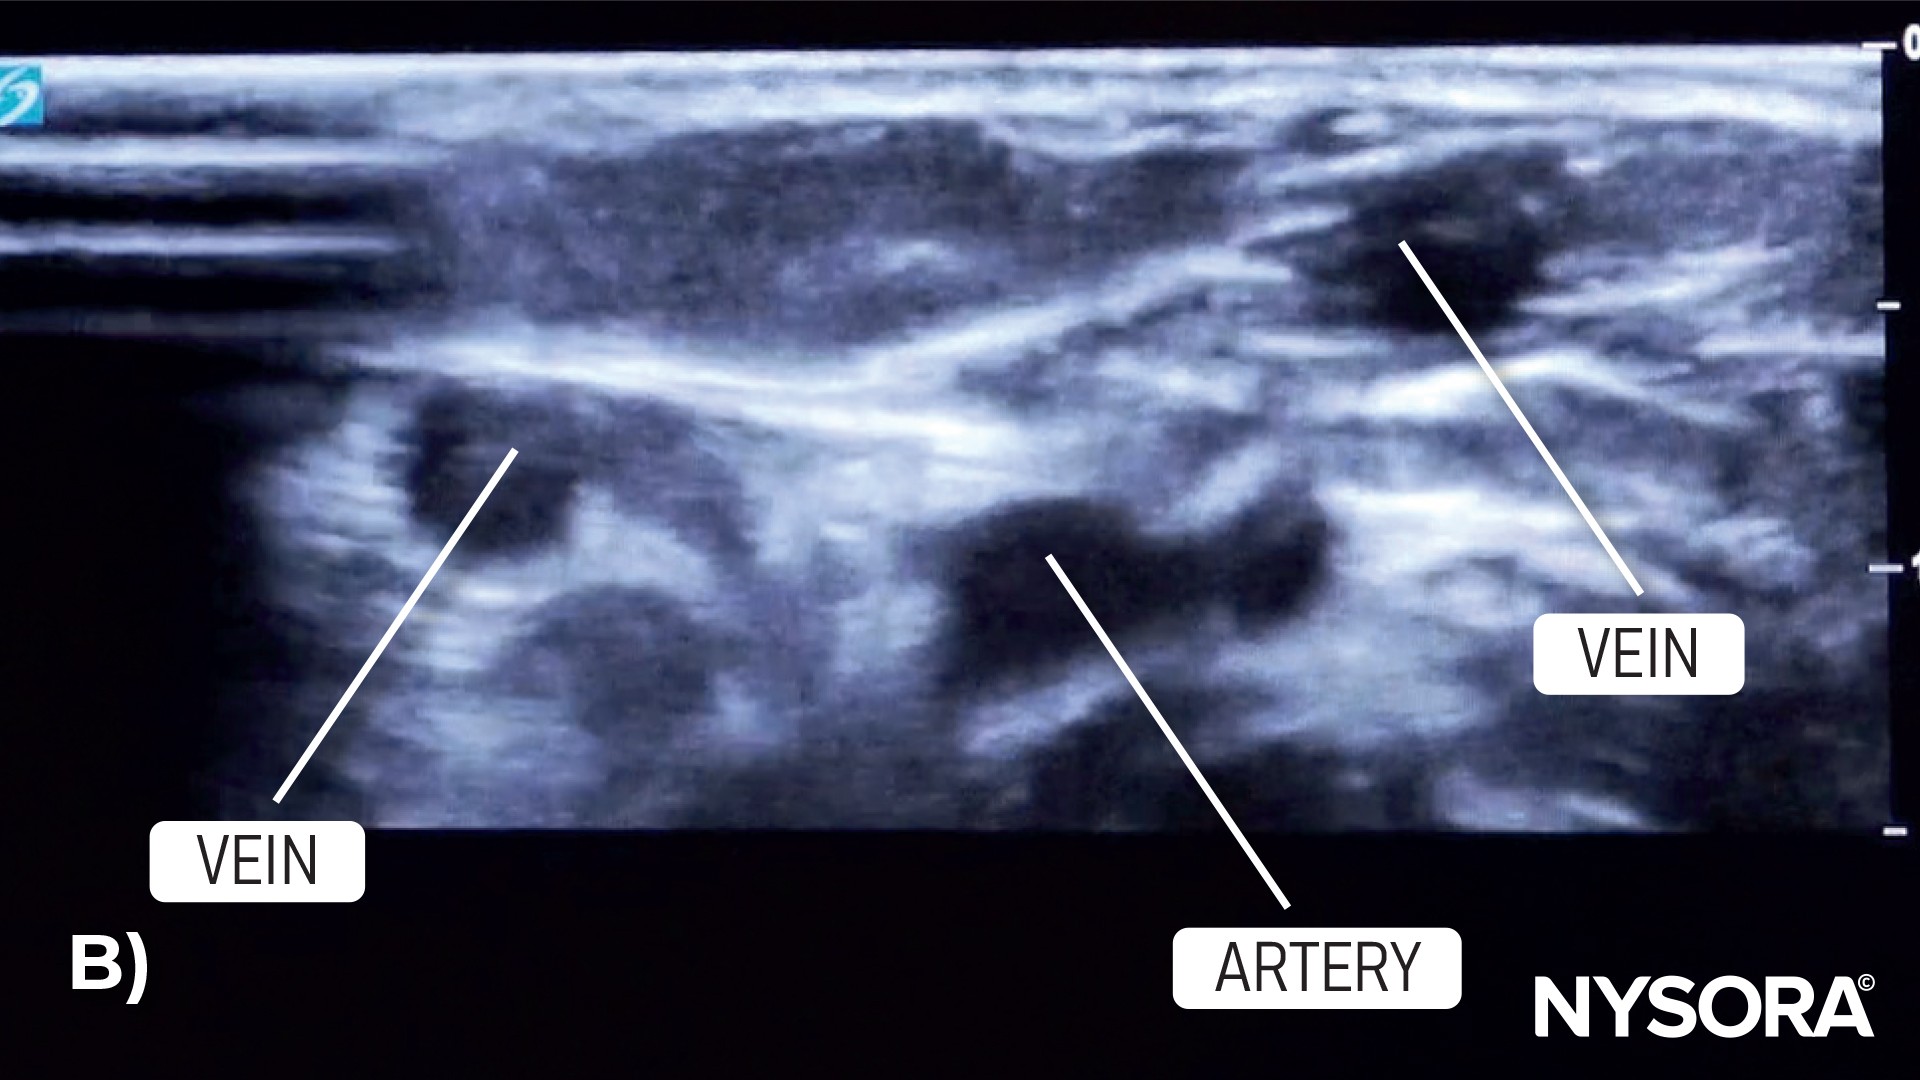
A) Start with the transducer in a transverse or out-of-plane orientation. B) Visualize the artery and veins in the forearm.
VIDEO: https://youtu.be/qo65iC1jZnA
Pre-insertion considerations
- Confirm that it is a vein and not an artery.


Vein of interest shown on ultrasound.
- Verify if the vein’s size and depth are suitable for cannulation.
- Check for any nearby structures, such as arteries or nerves.
TIP
When using color Doppler for ultrasound-guided IV catheterization, it’s essential not to use a tourniquet. The use of a tourniquet can hinder venous blood flow, which may adversely affect the visualization of veins using Doppler imaging.
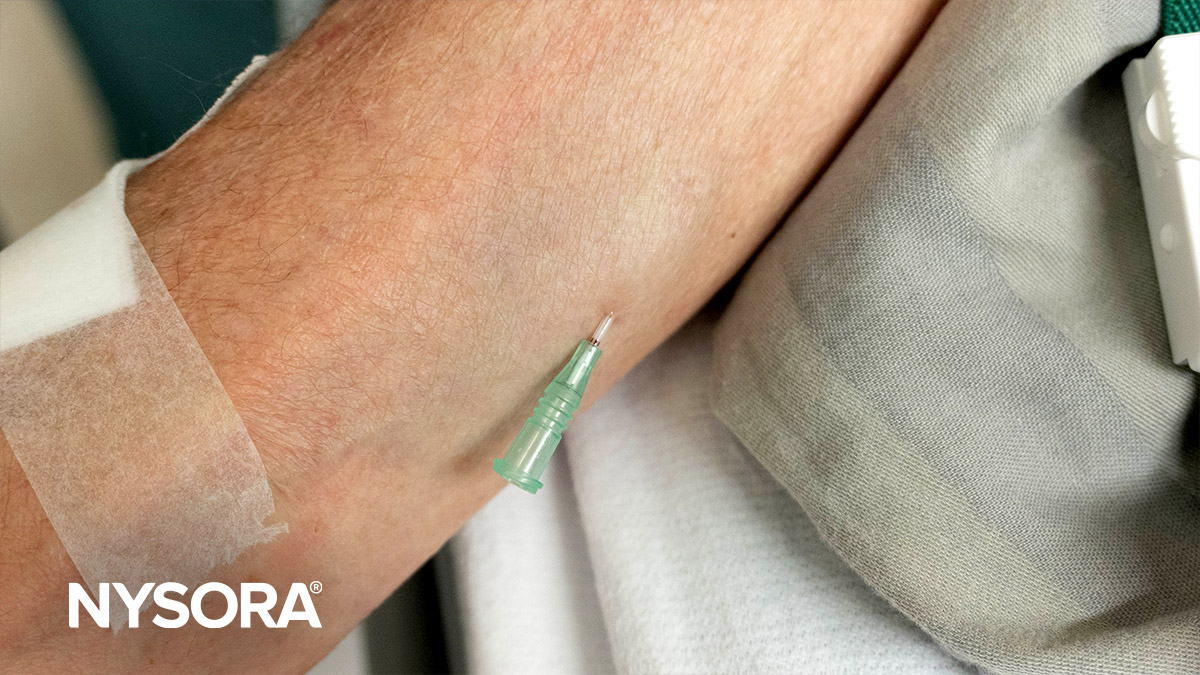
Needle insertion
- Hold the transducer steady with one hand while using the other for the needle.
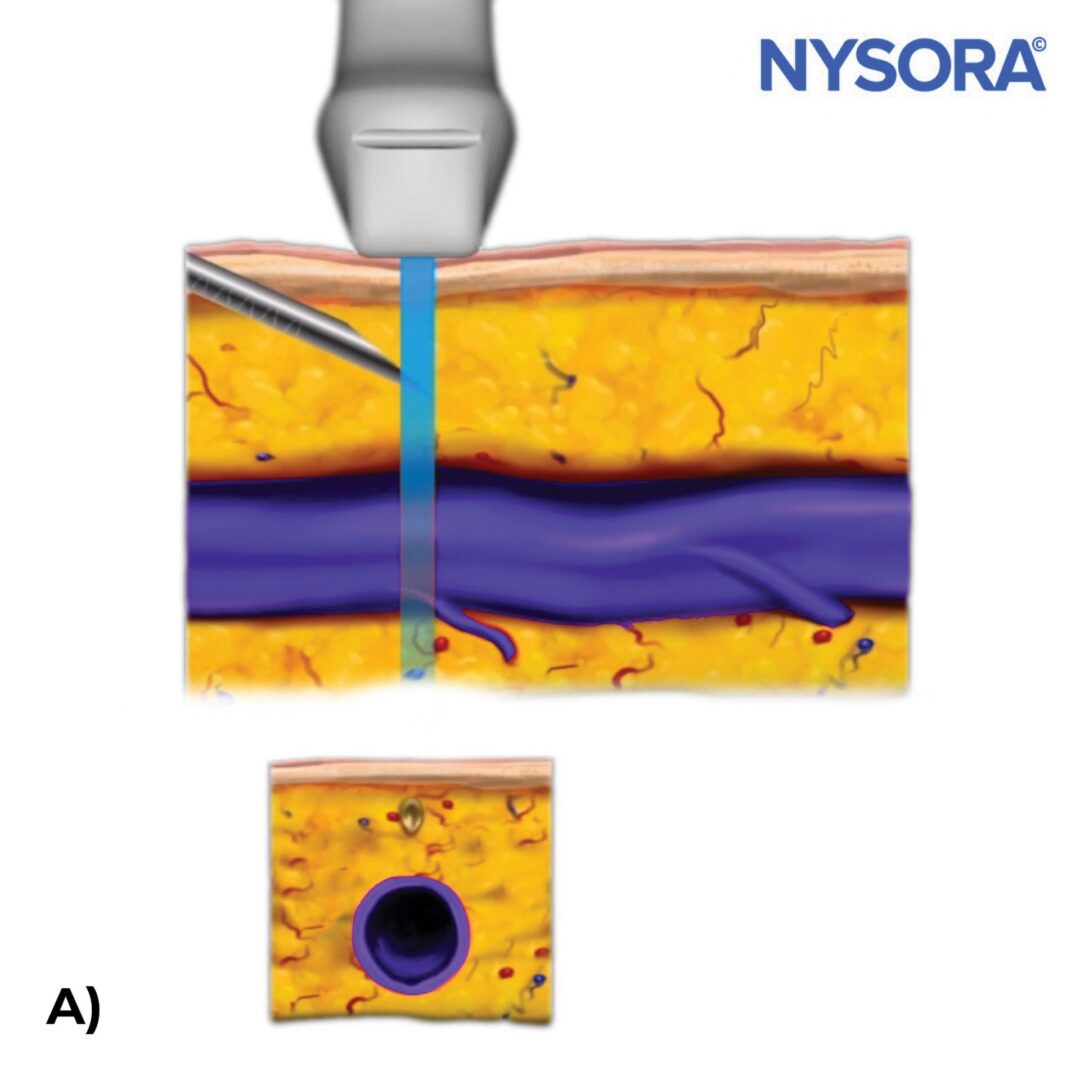
- Insert the needle out-of-plane with the bevel facing up at an angle that matches the vein’s direction.
- Insert the needle about 5 mm into the skin to visualize the needle.
- If the needle is inserted too superficially, the ultrasound might not clearly show the needle tip.
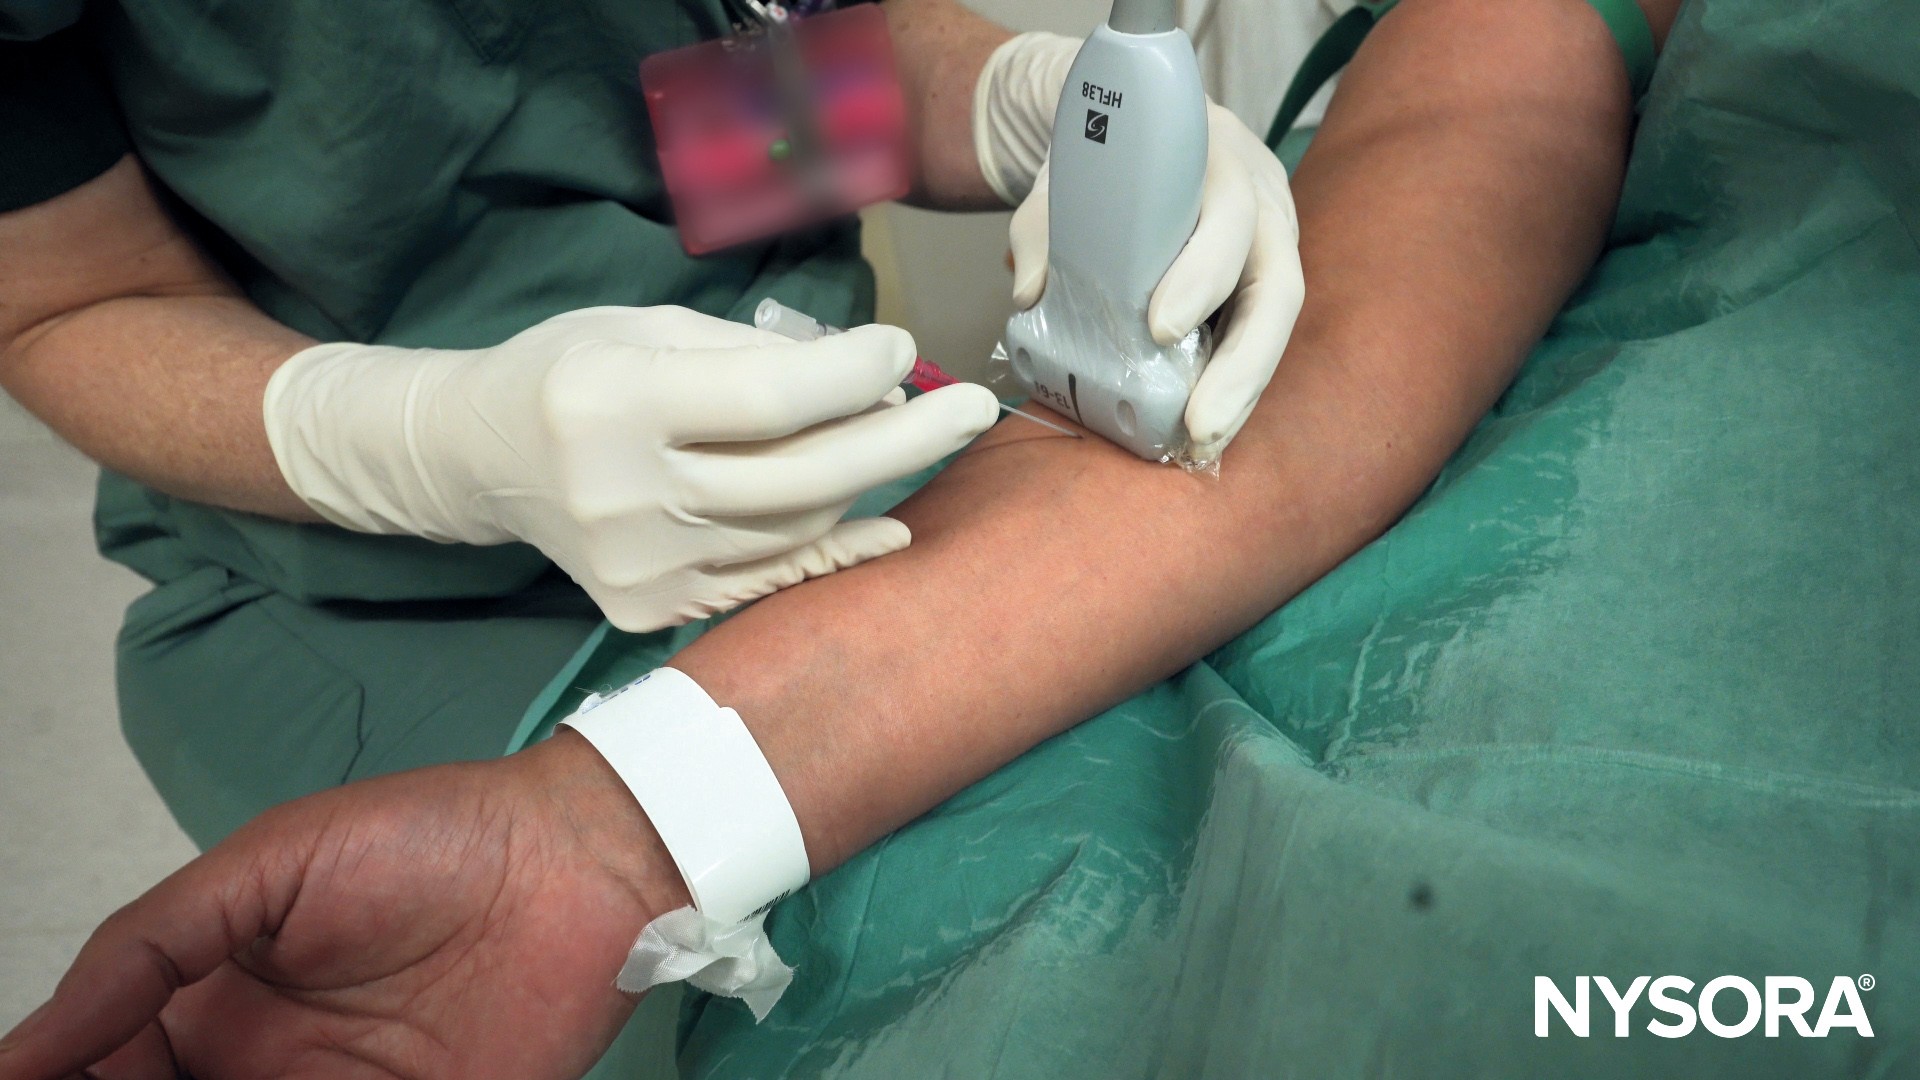
Out-of-plane needle insertion using ultrasound guidance.
- Use the ”creep up technique” to track the needle tip continuously on ultrasound while advancing the needle:
- Slowly move the needle and the transducer together when the needle tip enters the vein on the ultrasound screen.
- As the needle is pushed deeper into the vein, slide the transducer slightly in the same direction.
- This helps to keep track of the needle tip in the vein.
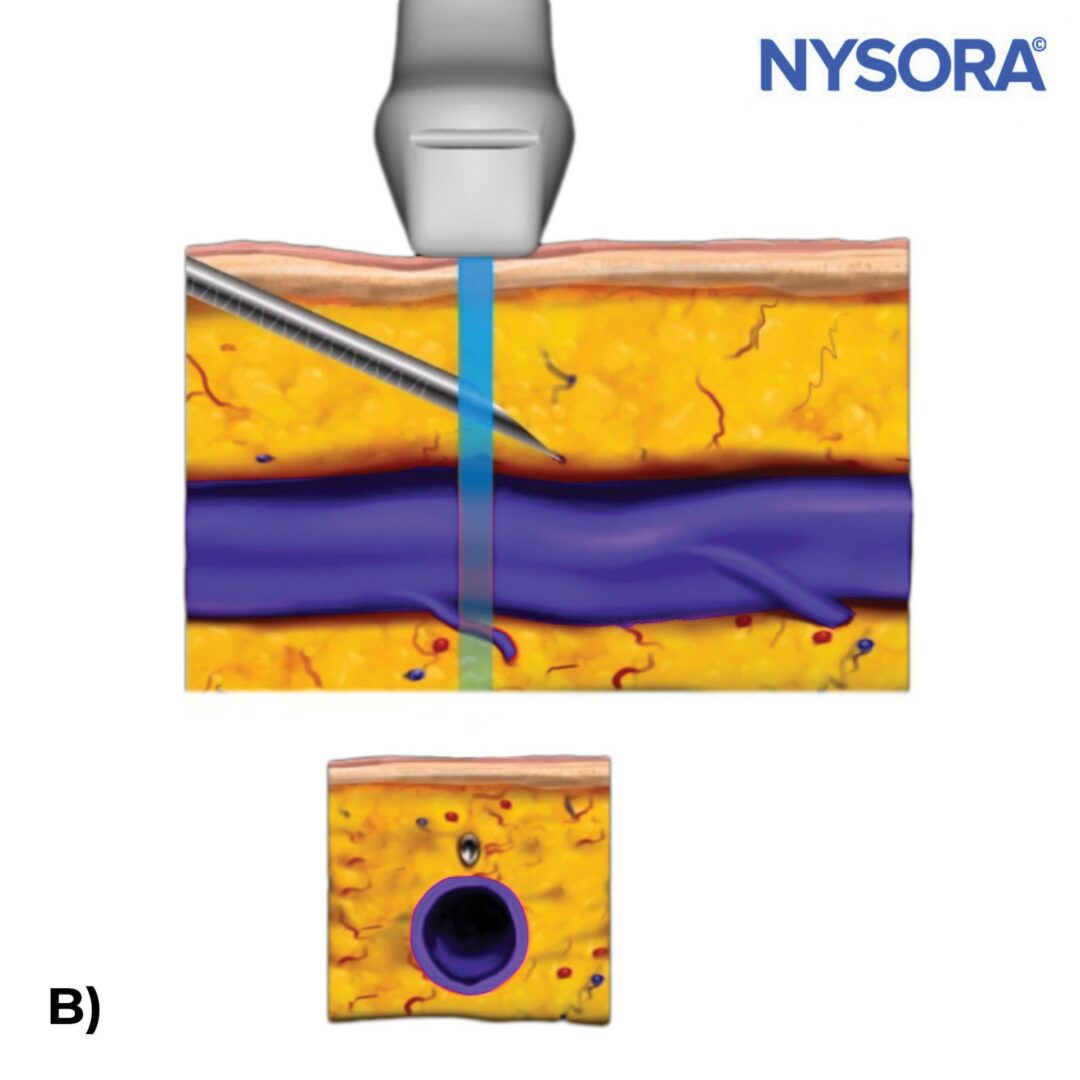

Use the “creep up technique” to track the needle tip continuously on ultrasound while advancing the needle.


A) Visualization of the needle tip on top of the vein with ultrasound. B) Confirmation of needle placement in the vein with ultrasound.
TIPS
- It’s essential not to focus solely on your hands. A common error for beginners is to rely only on the feel of their hands and look away from the ultrasound screen or the other way around.
- Keep switching attention from the screen to the site of needle insertion to ensure that the needle and ultrasound transducer are continuously aligned.
- Always maintain ultrasound visualization of the needle tip during insertion.
- Be aware that a needle can appear within the lumen of the vein without actually puncturing the vein’s wall.
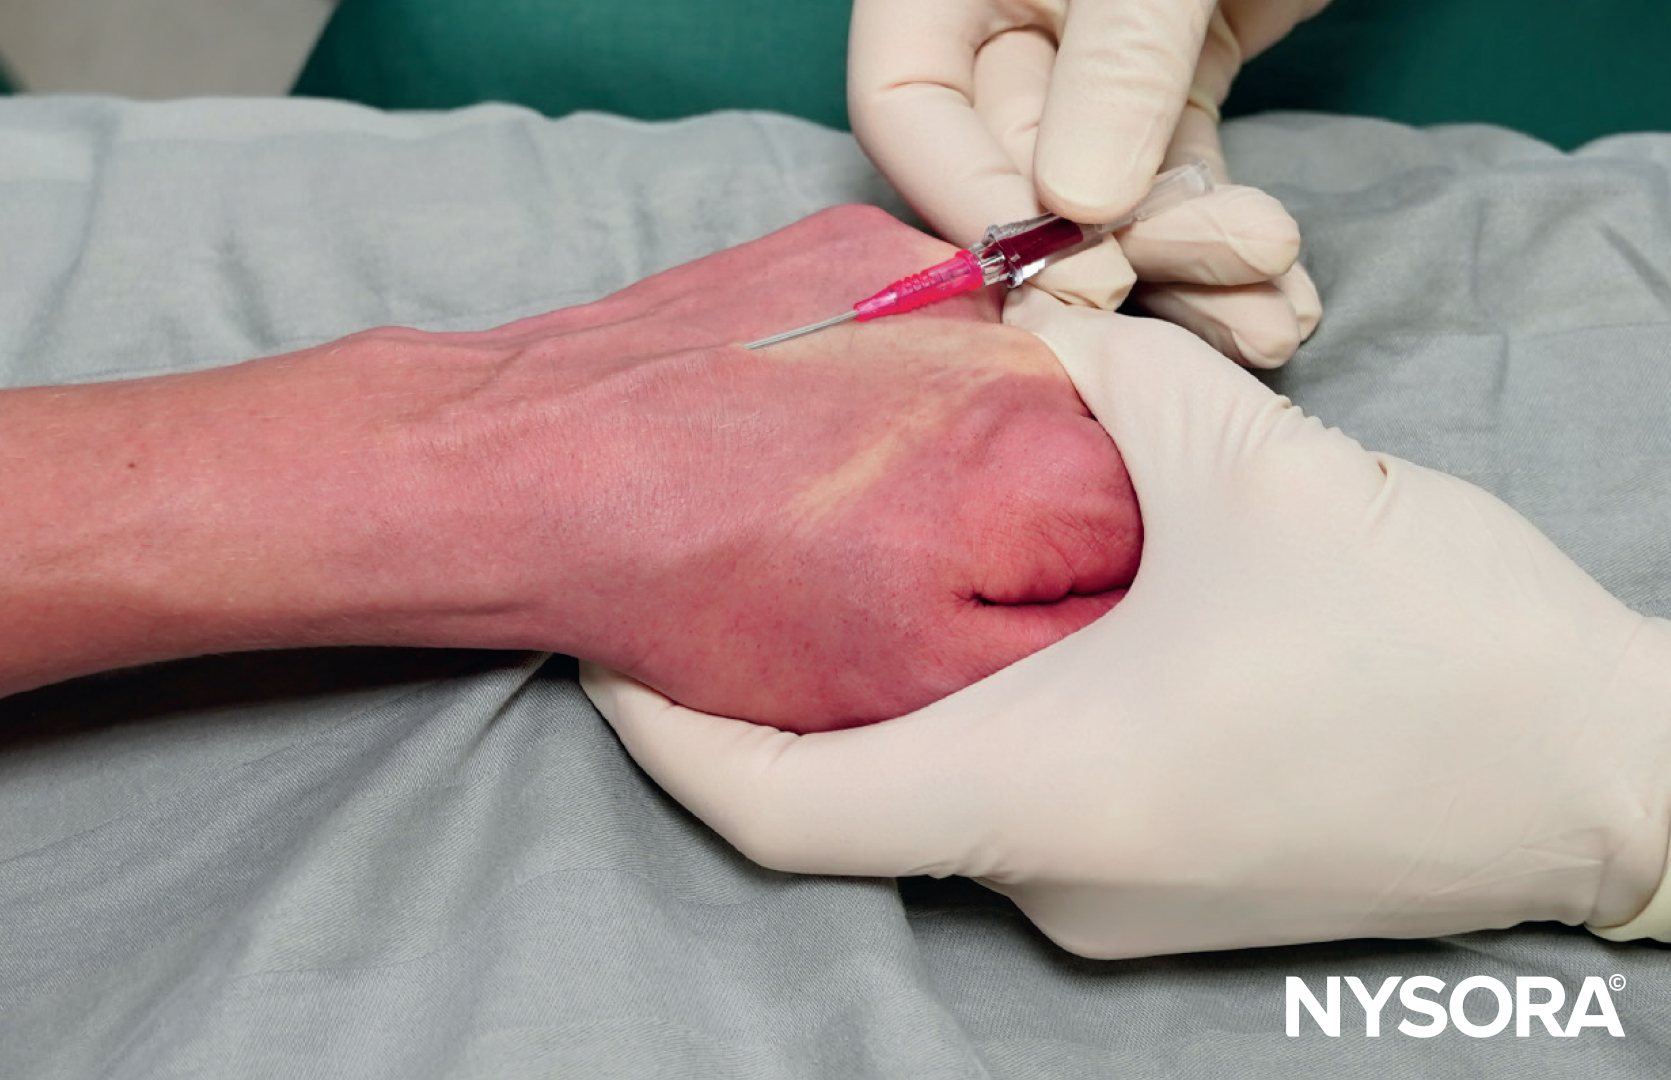
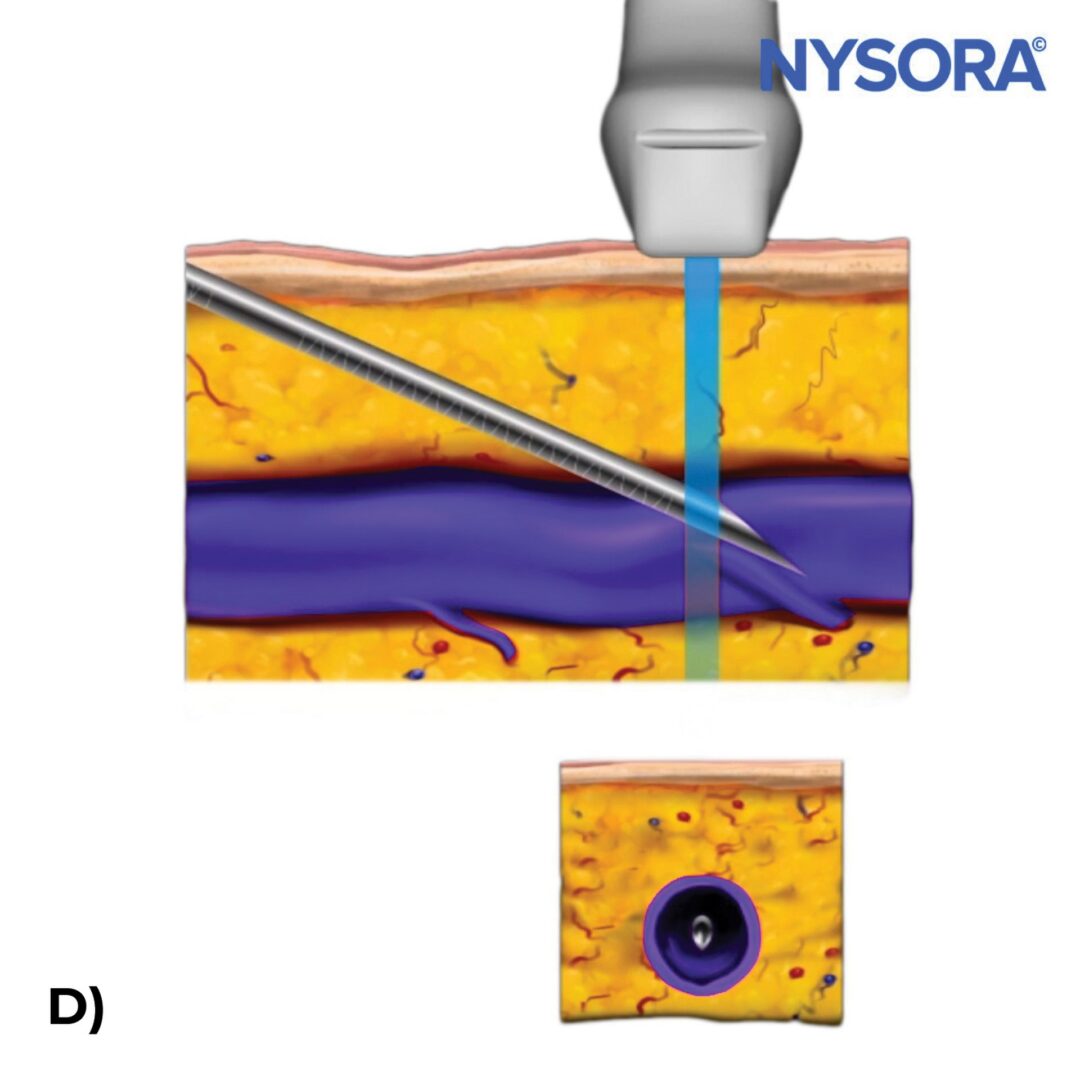
Catheter advancement
- Continue to advance the needle within the vein under ultrasound guidance until the needle is seen inside the vein. Usually, the entrance of the needle into the vein is associated with a certain “pop” feeling and the appearance of blood in the flashback chamber.
- Verify the correct placement of the IV by using a longitudinal or in-plane view.
- Thread the catheter off the needle into the vein.
- Retract the needle while leaving the catheter inside the vein.
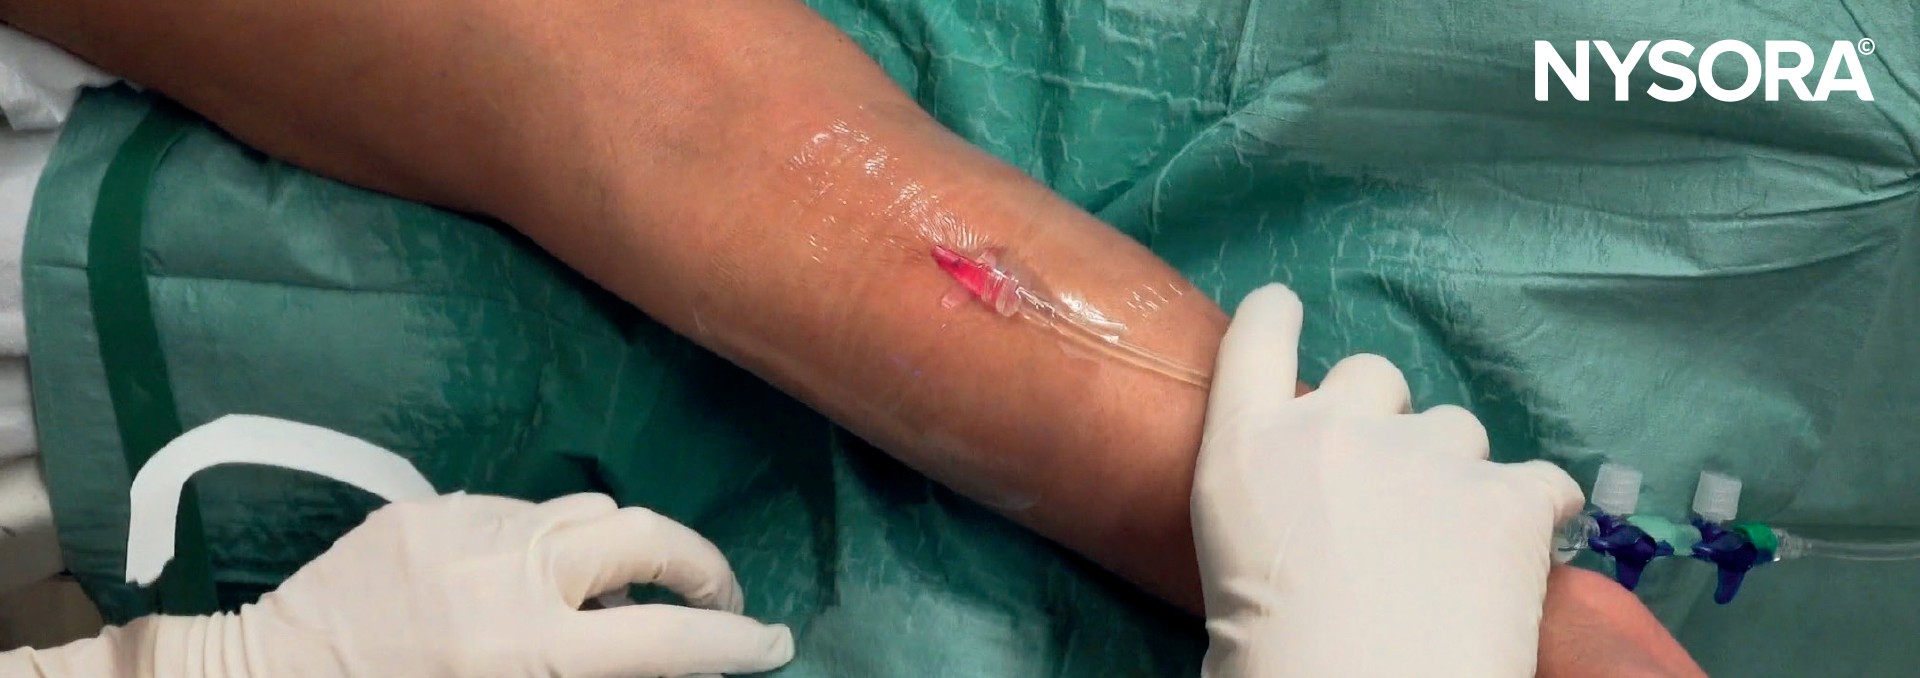
- Attach the IV tubing, aspirate to confirm catheter placement, and flush the catheter.


A) Observation of blood flashback. B) Verify the correct placement of the IV with a longitudinal or in-plane view. C) Lower the angle to advance the needle. D) Longitudinal ultrasound view of the needle in the vein. E) Visualization of the plastic catheter advancing in the vein with ultrasound. F) Put the index finger over the insertion site to avoid blood leakage and retract the needle. G) Attach the IV tubing.
VIDEO: https://youtu.be/dVSCxR8aKO4
Securement
- Secure the IV line with adhesive strips, a securement device, and/or a sterile dressing to stabilize the catheter.
Secure the IV line with a sterile dressing.
Tips
- Ultrasound-guided IV access is often easier using the out-of-plane technique.
- A linear transducer is most commonly used.
- IV cannulation with ultrasound guidance has fewer complications. However, take caution to avoid accidental arterial punctures.
- For confirming vein location:
- Veins compress easily with light pressure from the ultrasound transducer.
- Veins do not exhibit a pulse.
- Use color Doppler if available to distuingish veins from arteries.
- Remember, ultrasound-guided IV cannulation often needs a longer catheter. This is due to the vein’s deeper location and the sharper approach angle.
- Patient comfort and reassurance are vital. Many patients requiring ultrasound guidance have experienced previous failed IV attempts, leading to potential frustration. Ensure that patients feel informed and supported. Use local anesthetic infiltration (1% lidocaine) before ultrasound-guided IV cannulation, which often takes a longer time than the traditional technique without ultrasound.
- Maintain a steady hand by resting it on the patient’s skin, which helps accommodate any slight patient movements.

Always use sterile probe covers during ultrasound-guided IV access to prevent cross-patient, and equipment contamination.