 Nerve Blocks App
 Pain Medicine Assistant App
 POCUS App
 IV Access App
 MSK Knee App
 VetRA App
 Nerve Block Manual
 Regional Anesthesia Updates
 Anesthesiology Manual
 Anesthesiology Review
 Anesthesia Updates 2025
 Anesthesia Updates 2026
 Pediatric Anesthesia Updates
 Airway Management Updates
 US Interventional Pain Manual
 Pain Medicine Updates
 Mastering Difficult IV Access
 PACU Nursing Manual
 RA Veterinary Manual
 About
About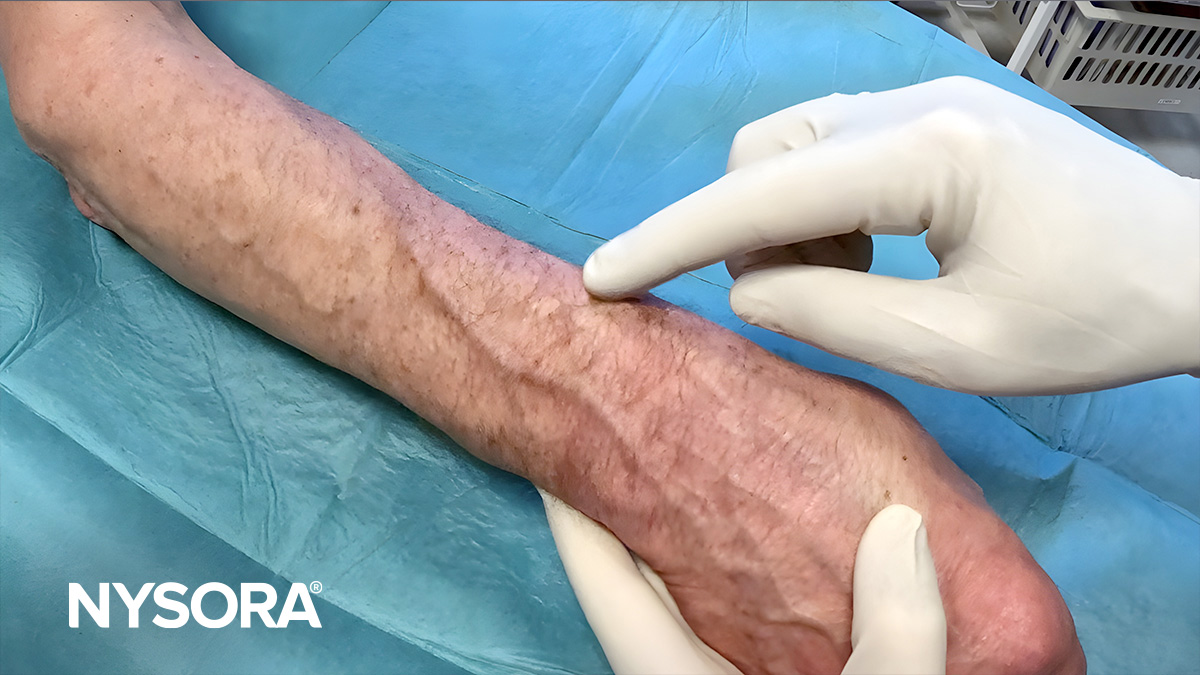
When attempting IV insertion, avoid areas at or immediately below a venous valve, as they can complicate the insertion procedure for the following reasons:
- Difficult insertion: Valves can obstruct the passage of the cannula, making insertion more difficult.
- Risk of damage: Damaging a valve can lead to complications such as thrombophlebitis.
- Inefficient flow: If a catheter tip is positioned near or against a valve, it can impede the flow of fluids or medications.
- Increased risk of occlusion: Catheters placed near valves have a higher tendency to become occluded.
- Patient discomfort: Cannulating a vein at a valve can be uncomfortable.
- Potential for infiltration: If the catheter is not positioned correctly due to a valve, there is a risk of paravenous infusion into the surrounding tissues, which can cause swelling and pain.
- Reduced catheter longevity: Catheters placed near valves may not last as long and require more frequent replacement, leading to more discomfort for the patient and additional procedures.
- Blood draw can be difficult: The valve may obstruct the catheter, and there is a high risk of vein rupture if it is punctured during insertion.
For these reasons, when performing venipuncture, palpate the vein carefully and choose a site that feels smooth and free of the palpable “bumps” or resistance that might indicate the presence of a valve. Identifying and avoiding valves can increase the chances of successful IV cannulation, reduce patient discomfort, and decrease the potential for complications.
Here’s how to identify valves:
Palpation
- Use your fingers to palpate the vein gently.
- Valves typically feel like slight “bumps” or “knots” alongside the course of the vein.
- If a noticeable “bump” followed by a depression or void is felt while palpating a vein segment, this may indicate the presence of a valve.
Tourniquet application
- Apply a tourniquet above the site being assessed.
- This causes veins to distend, making it easier to palpate and identify irregularities or bumps that could indicate valves.
Visual inspection
- Valves can sometimes cause a visible bifurcation or branching in the vein.
- Look for areas where the vein appears to split or has a noticeable widening.
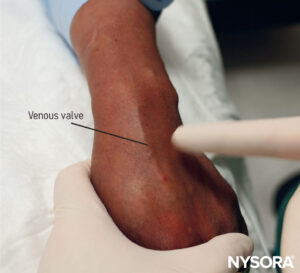
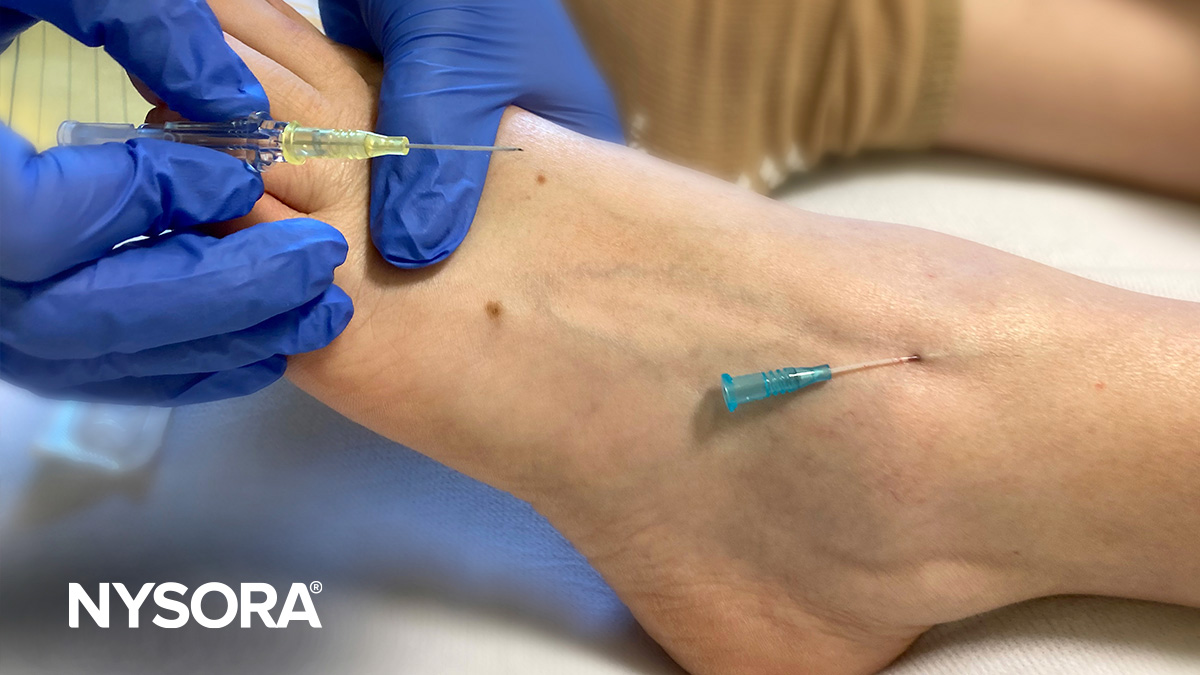
A venous valve in a dorsal hand vein is palpable as a slight “bump” or “knot” within the vein.
Transillumination
- Use a transilluminator or “vein light” to illuminate the subcutaneous structures (See Chapter 11: Intravenous Access Training and Assistance Tools in NYSORA’s ‘Mastering difficult IV access’ Manual).
- This can highlight the path of the vein and show areas with potential valves.
Ultrasound
- An increasingly commonly used method for difficult IV placement.
- Ultrasound can visualize the vein’s anatomy, including valves, bifurcations, and diameter.
- It can show real-time blood flow, with valves appearing as echogenic (bright) structures interrupting the vein’s lumen.
Assess blood flow
- Press distal to the site being assessed and release. If the blood flow stops momentarily and resumes, it might indicate proximity to a valve.
- Note: This method is not foolproof but can provide an additional clue.
Experience and training
- As with many clinical skills, the ability to identify veins and their valves improves with experience and training. Over time, practitioners become more adept at distinguishing the feel of a valve from other structures or irregularities in the vein.